Okay! We've just finished 'class', and we hope to have more people next time... I found it extremely rewarding, learnt an awful lot. Thank you so much, Cuv!
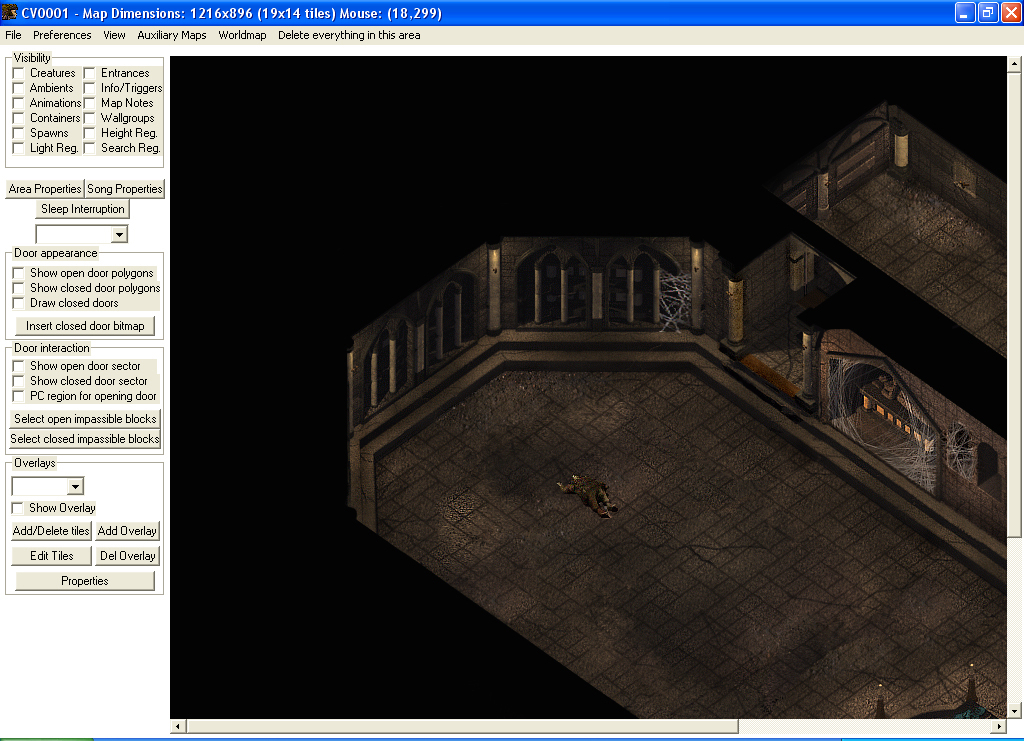
Here's a small screenshot of part of the area we're working on - it's not finished yet, but will be next time we get together...
Thank you for the kind words Kae
For those that downloaded the files and want to catch up for next time.....
Here is what was accomplished last night:
1. Setup IETME and set the game path and preferences.
2. We managed to get the map converted into a useable area in IETME.
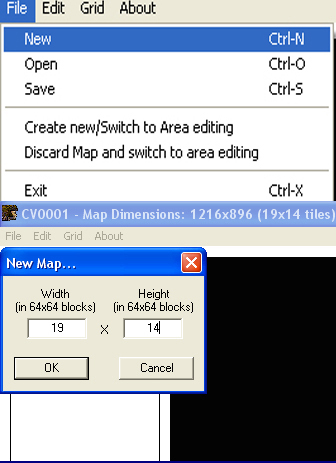
a. The bitmap dimensions are 1216 X 896. You take those numbers and divide by 64 to get the height and width of the area. You go to File --> New ---> here you are promted for the H and W info which is 19 X 14. Click OK.
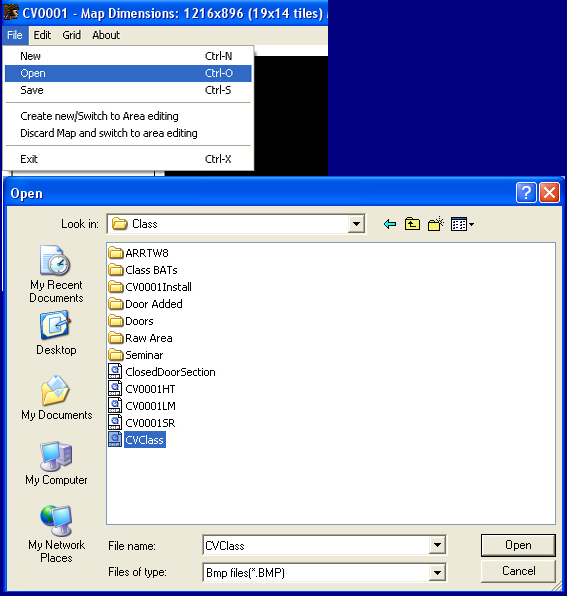
b. Next you go back to File --> Open--> Here you browse to the area artwork. In this case: CVClass.bmp
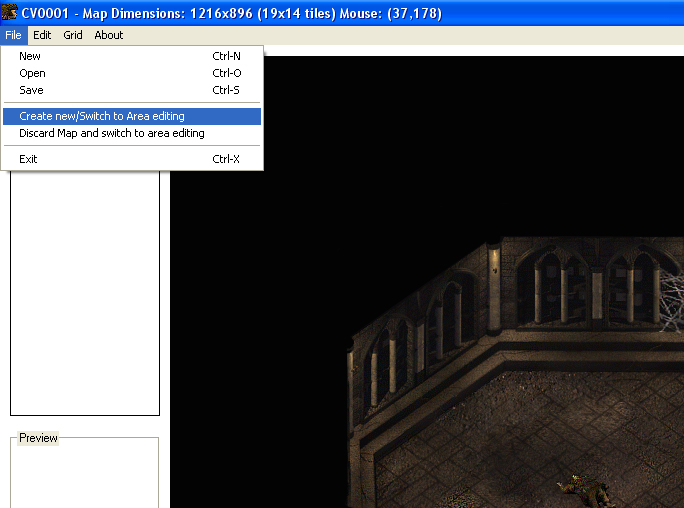
c. Once you have the map loaded, back to File --> Switch to Area Editing. This brings up all the input info you need to create the working area.
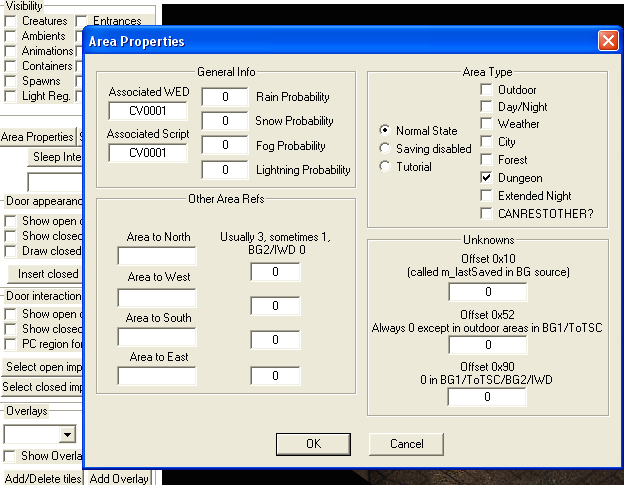
d. Click on Area Properties and assign a Wed name to your area. It should be the same name as that which you will soon save the area. In this case we called our area CV0001.
e. Draw a polygon around the parts of the area which you want the player to be able to walk, Right Clicking will bring up a menu of what you want to make this polygon. Choose Search Map. Next Right click the polygon again to Change Properties. This brings up another menu with all the search map particulars. We chose Stone1 for the walking area to keep things simple. ( I later sent Kae and Berelinde finished auxillary maps). We then went up to the top and selected Auxillary Maps---> White the Light map and Black the Height map. I then sent each person completed HT,LM and SR maps to save on time and keep the class moving along.

f. Create a new folder inside the work folder for the class called: Raw Area
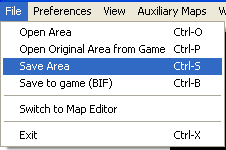
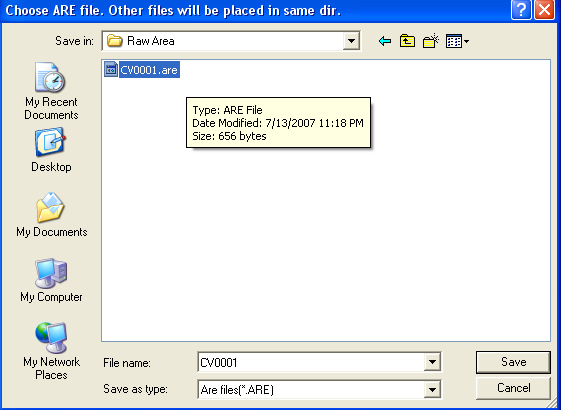
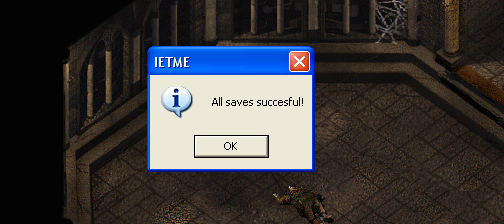
g. Click on File in IETME --> Save Area to Raw Area --> Choose area name (CV0001.are) --> IETME will ask if you want to compile the Tileset, say Yes---> Make Mini-Map, Yes --> Save Height, Light and Search Maps, say Yes. Now a bunch of probably useless pix to show each step, but it makes things crystal clear:
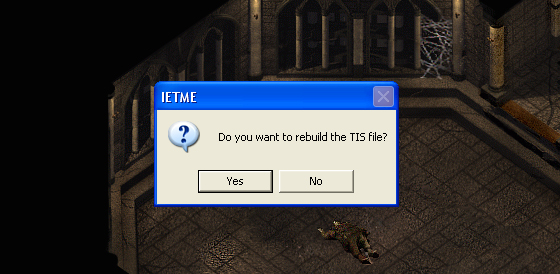
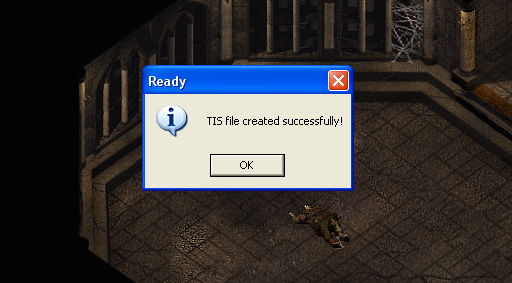
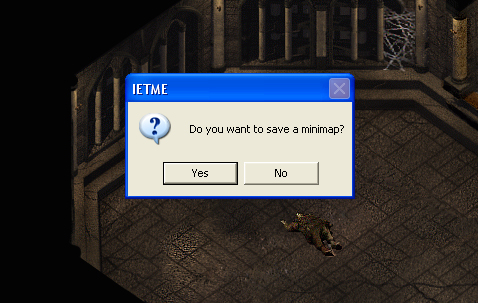
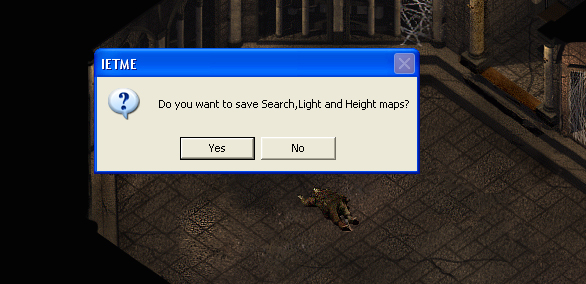
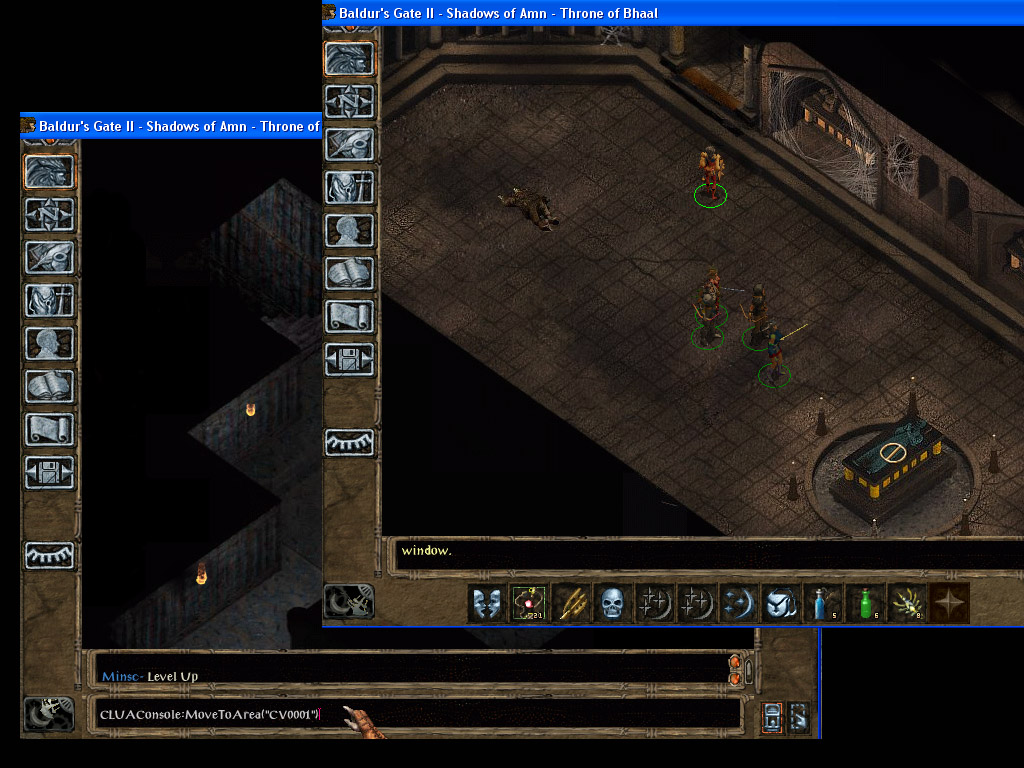
3. We then copied the contents of the Raw Area into our override and did a test to make sure nothing was messed up. We deleted the extraneous file that IETME creates (CV0001.slh), this file is not needed for anything. Everything went well. CLUAConsole:MoveToArea("CV0001"). With everything looking good after a stroll through the new area, we deleted those files from our override. The Raw Area is safely secured in its own folder on the desktop for the next step. It is always important to keep a backup of the latest working version of the area you are making just in case IETME decides to crash on you.
4. Next we opened our painting program. In my case it is Photoshop Elements. We opened the chopped portion of the area that I included in the downloads. This contained the closed door portion of the area artwork.
a. Now we open IETME again, File--> Create New/Switch to Area Editing --> Open Area --> Browse to your Raw Area folder and select CV0001.are and open it.
b. Near the botton of IETME, Add Overlay --> Select Overlay from dropdown menu--> Add/Delete Tiles. Screen goes black except for grid lines. Click on the tiles around the door area until you can see everywhere that the closed door will touch. Now hit Print Screen on your comp keyboard. Close IETME without saving anything. All we wanted was an actual size of the grid.
c. In Photoshop (or whatever you use), create new file and paste in the screenshot. Crop it to just around the grid lines of the door you want to make. Save this file as Door01grid to a new folder in your area work folder called :Doors
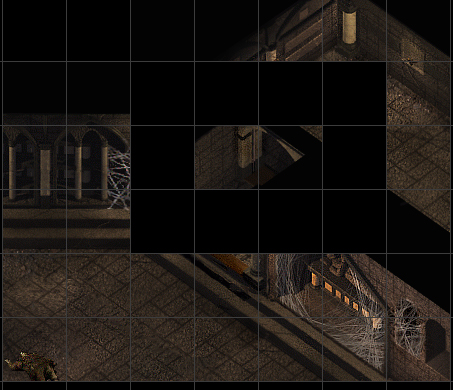
d. Looking at the grid, we can see that the actual door will only occupy two tiles. This makes the required door bitmap 2 X 1, multiply by 64. We create a new blank bmp file with the pixel dimensions of 128 X 64.
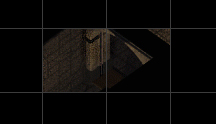
e. Now drag the Door01grid image over onto the new blank file. Position it so that you can see the grid line in the upper left and top portions. Hopefully you have a lock-to-grid feature with your program. Now merge the layer and Save as Door01.bmp.
f. Next we take that same Door01 file and drag the chopped portion of the area that contains the closed door portion we want. Set your transparency so that you can see both images. There are several ways to do this: Exclusion or simply set the transparency to about 46%. Move the closed door portion around until it exactly matches the pixels below of the door frame. Once you have that done, remove the transparency so that all you see if the closed door. Merge the layers and save. Done. This file should be saved in your Doors folder.

5. Now we add the door to the tileset. Open up the CV0001.are in IETME -->CreateNew/Switch to Area Editing. All the area tabs are visible on the left side of the interface. At about the middle is a button to Insert Closed Door Bitmap. Click it. This brings up a browse window, go to your Doors folder and select Door01. The door will appear in the viewing screen in the upper left. Grab it with your mouse (holding down left button) and drag it to the desired location. Right click to Fit Here. You will then get a window that tells you that the door is now available from the dropdown menu. My Area Making Basics Tutorial on doors covers this part in better detail than I could give here in text. When this little tutorial is complete, I will find it and paste in the necessary information.
6. After saving the area again (Rebuild TIS, Mini-Map and Auxillary Maps) to another new folder called Doors Added, copy all the files to your override and do another test. Make sure that the area is still functional and that the door functions as you desire. Opens and closes properly, etc. If everything looks good, then delete all the CV0001 files from your override and work from your Doors Added folder for the next step. If you encounter problems, go back to your working Raw Area and do the door again from the beginning.
7. Now it is time to create a WeiDU installer for our area. The tileset is complete and no further work will be done with it for this basic area and we will TIZ it to save space. I will break down this process into several steps:
a. Create a folder for use with the TISPack. I call my folder TIZ Single Use. I keep this in a general modding folder as it will come in handy any time I need to TIZ an area. The folder should contain the TISPack.exe and the TISPack.bat. Select the TISPack.bat and go to Edit. Replace the file name with the current area TIS that you want to convert. The edited file should show the following:
@ECHO OFF
tispack -s -q 85 CV0001.tis
This gives us a compression of 85% of the original file and will save a ton of space, but it is also not too much as to lose enough graphical detail to be noticed.
Now you will place the CV0001.tis inside this folder and double click the .bat file. This will instantly create CV0001.tiz in this same directory.
Create a new folder--> CV0001 installer. Now you will put together a WeiDU install package inside this folder. I won't go into alot of detail about creating this as most of you know this step rather well. You will need a TP2, WeiDU.exe and your directory. Inside the directory you want the following folders: Are, Mos, Wed, Bmp, Tiz and Backup. You can add other folders later to the directory as they are needed.
Begin copying files into the respective folders; CV0001.are goes in Are, CV0001HT, LM and SR go in Bmp, CV0001.wed to Wed, CV0001.mos to Mos and put CV0001.TIZ in the Tiz folder. You will only keep the original CV0001.tis as a backup.
After editing each .bat file that was included with the proper file name of CV0001, place each in the appropriate folder also. FileClean.bat and Uninstall.bat will go in the Backup folder. Put the TISUnpack.bat and the tisunopack.exe inside your main CV0001 installer directory.
Now you need to make a TP2 for the install. You want the bats to run for a complete uninstall. These take care of a few files that seem to linger, but will do the trick. I have a catch-all TP2 that I use and just recopy and edit for these new area tests. It's a quick copy job, and you may have your own prefered way of writing a TP2. Here is basically what your TP2 should look like:
// Installer for CV0001 by Cuv  July 13th, 2007

////////////////////////////////////////////////////////////////////////////////////////////////////////////////
// backup game files
BACKUP ~CV0001\backup~
////////////////////////////////////////////////////////////////////////////////////////////////////////////////

////////////////////////////////////////////////////////////////////////////////////////////////////////////////
// author info
AUTHOR ~Lorne Ledger <cuvieronius@aol.com>~
////////////////////////////////////////////////////////////////////////////////////////////////////////////////

////////////////////////////////////////////////////////////////////////////////////////////////////////////////
// language options
///LANGUAGE	~English~  ~english~  ~_trans/english/CV0001.tra~
////////////////////////////////////////////////////////////////////////////////////////////////////////////////

////////////////////////////////////////////////////////////////////////////////////////////////////////////////
// Installer for CV0001 Cuv Area Making Class
BEGIN ~CV0001~
////////////////////////////////////////////////////////////////////////////////////////////////////////////////

// ...patching
APPEND ~MastArea.2da~
~CV0001  value~

// area
COPY ~CV0001/Are/CV0001.are~ ~override~
COPY ~CV0001/Bmp/CV0001HT.bmp~ ~override~
COPY ~CV0001/Bmp/CV0001LM.bmp~ ~override~
COPY ~CV0001/Bmp/CV0001SR.bmp~ ~override~
COPY ~CV0001/Tiz/CV0001.tiz~ ~override~
COPY ~CV0001/Mos/CV0001.mos~ ~override~
COPY ~CV0001/Wed/CV0001.wed~ ~override~

COPY ~CV0001\tisunpack.exe~  ~tisunpack.exe~

AT_EXIT ~CV0001\backup\FileClean.bat~

AT_INTERACTIVE_EXIT ~CV0001\tisunpack.bat~

AT_INTERACTIVE_UNINSTALL ~CV0001\backup\FileUninstall.bat~
The TISunpack will unpack the tiles back into a TIS, and the FileClean.bat will delete the TIZ from your override.
Keep all the files copying individually. Don't have WeiDU copy entire directories yet. That can lead to problems with debugging latter. Plus we will later add specifics to the TP2 when we want to write strings directly to the area.
Now copy the installer to your BGII directory and run the install. Double check your override to make sure the .tiz and unpacker got deleted, glance over the files to make sure you got them all copied. Start your game and run another test on the newly installed area by CLUAConsole:MoveToArea("CV0001"). Everything should look good. Exit the game. Uninstall CV0001 and double check to make sure everything was completely uninstalled. If everything looks good, back up this installer to your work folder. We are now fully functional up to this point.
8. The last thing we decided to work on in this class was adding animations. First thing to do is look over your area and see where you will need animations and what type. You might already have some in mind.
a. You can go to Infinity Explorer and check out animations you might want to use. Won't tell you how to use that, but will tell you where to look: MISCAnim.bif
b. I knew that we would need torches of two types and maybe some flies for the corpse. Below you will see what I picked:
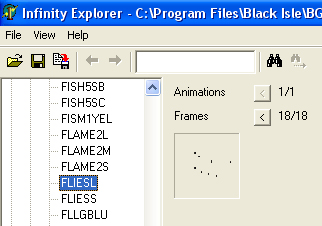
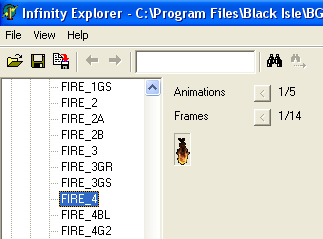
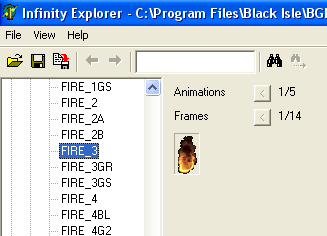
I really want to get a nice green color for the tomb torches, but that will be handled with scripting later.
c. Now I right click in the area I want an animation:
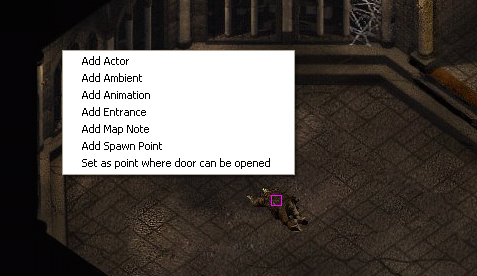
d. After positioning the animation where I desire by dragging with the left mouse button, I right click again to set the properties:
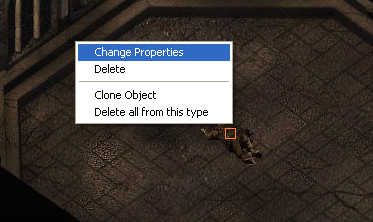
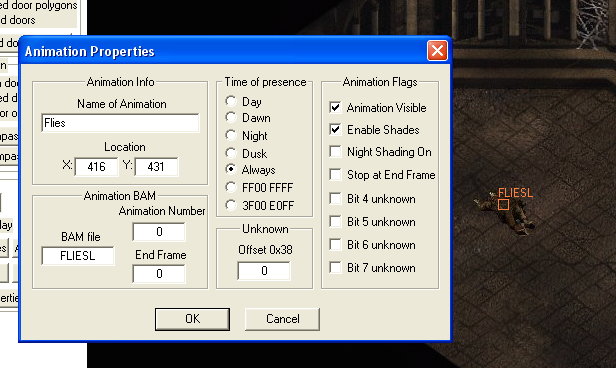
We did not actually add this animation in the class, but it is a good example that was to be the next step. You can see that I have written in a scripting name for the animation (Flies) and have also written in the file name of the BAM that this animation will call. FLIESL
e. We also added some of the torches but had not finished those yet. We placed several torches using FIRE_4 and temporarily used FIRE_4GR for the tomb torches.
I look forward to seeing more people at the next class. Hope you enjoy this meager tutorial and it is helpful.
Regards,
Cuv
Attached Files
Edited by Cuv, 16 July 2007 - 07:59 PM.


